Several years ago, we discovered that although my husband is sensitive to gluten, he is fine when I cook with sprouted wheat flour. Great! Because if you are also trying to be gluten-free, you know the gluten substitutes are not the same. But have you ever looked at the prices of sprouted flour? Staggering. And that’s if you can even find it! So, I decided to learn how to make sprouted wheat flour.
Enter ADHD hyperfocus. Can it be that hard to make your own sprouted flour? Throw some wheat berries in water, then grind them in the food processor, right? I was wrong – so wrong.
What’s Special About Sprouted Wheat Flour?
What even is sprouted flour? Sprouted wheat flour is whole grain wheat that’s been germinated, unlocking unique goodness. Harvard Health Publishing says, “This germinating process breaks down some of the starch, which increases the percentage of nutrients. It also breaks down phytate, a form of phytic acid that normally decreases the absorption of vitamins and minerals in the body. So, sprouted grains have more available nutrients than mature grains. Those nutrients include folate, iron, vitamin C, zinc, magnesium, and protein. Sprouted grains also may have less starch and be easier to digest than regular grains. It may help people who are sensitive to digesting grains.”
This is the case for my husband. He does not have celiac disease, but regular flour is hard to digest. Making sprouted flour at home for baking has been a game-changer! Here’s how to do it:
You Need The Proper Equipment
Let me save you from the ignorant mistakes I made at the beginning of this journey. For example, a food processor does not cut it as a grain mill. Also, you can’t make flour from wet wheat berries. Oops. You don’t know what you don’t know, people!
I didn’t plan to invest in equipment or have the budget when I started. I mean, have you seen the prices of the fancy grain mills? A grain mill, though. You’re going to need a grain mill. So, I started with a manual grain mill because I did not want to break the bank. It worked fine, but what a workout! I quickly upgraded to an attachment to my stand mixer.
And is a dehydrator essential? The short answer is no. You can let the sprouted berries dry out on wax paper if you’d like. This, however, takes about a week (ask me how I know, ha). And even on its lowest setting, the oven is too hot and cooks the berries. So, I recommend investing in a dehydrator.
Here Are the Steps
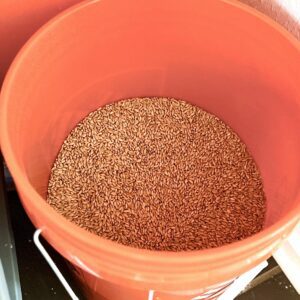
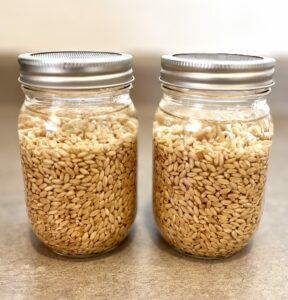
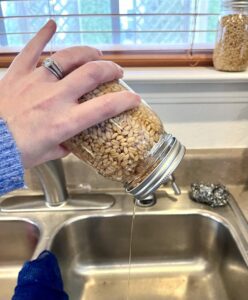
First, you need to purchase wheat berries. There are 3 types, but hard white is best for bread making. I buy mine from a local Amish store, but you can also get them online. You also need a few mason jars with rings and a mesh splatter screen (I have linked one, but you can usually find these at the Dollar Store). You will make a mesh lid for the jar using the splatter screen.

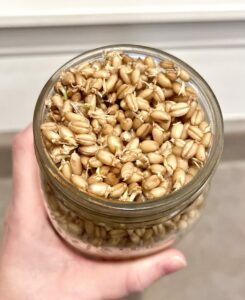
Fill the jars about 2/3 of the way full. The berries will expand, so you want to leave space. Fill the jars with enough water to cover the berries. Then, every morning and evening, drain the water utilizing the mesh lid. After 2-3 days, your berries will sprout! A small little sprout will emerge from the pointed end of the berry.
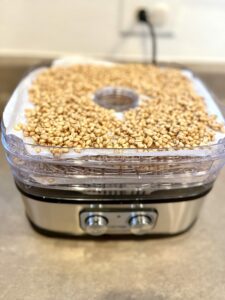
You did it! You sprouted your wheat berries. Now, we need to dry them out. Get out the dehydrator and line each tray with wax paper, then spread the berries into a single layer. You may need to do this in batches. I usually do, at least. Set the dehydrator on low (around 90ºF is what we aim for). Every few hours, rotate trays so the berries dry evenly. Once completely dry, you’re (finally) ready to make flour.
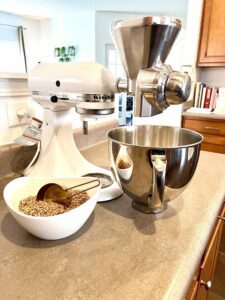
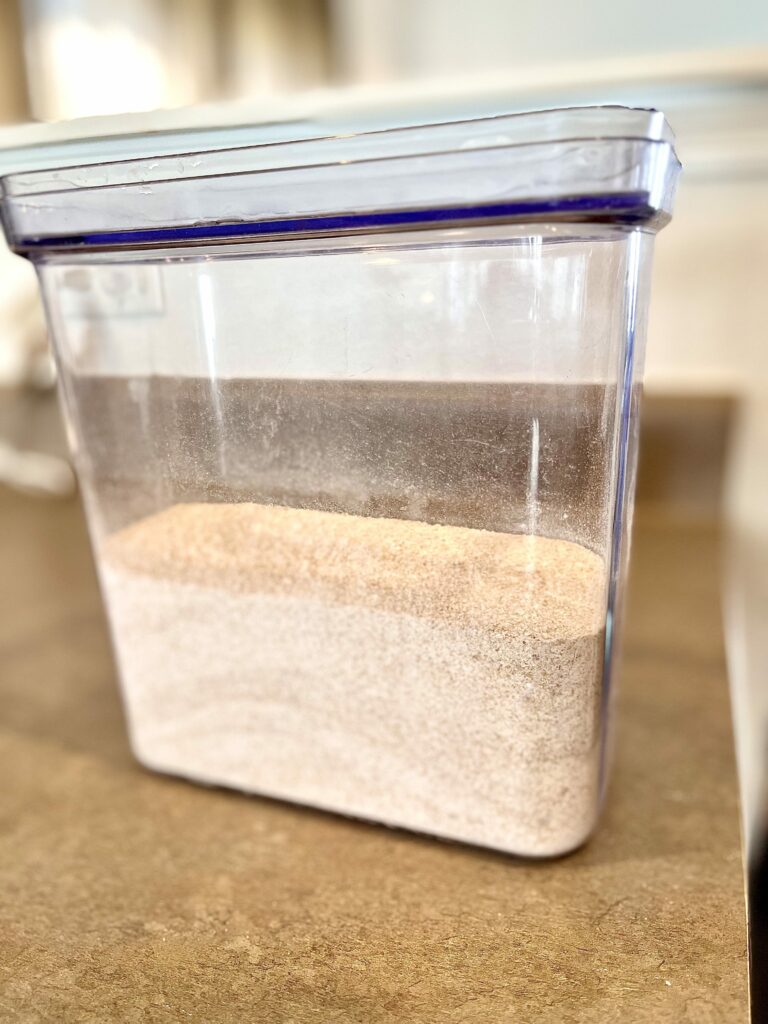
Next, set up your grain mill and follow the directions in the package insert for your mill. You will most likely have the grain mill set on the finest flour-making setting. If you use the Kitchen Aid attachment, as I have, pay attention to the motor’s heat. If it gets too hot, take a break and let it cool down. Your flour will look like what’s pictured below. You will have fine flour and also some more significant pieces mixed in.
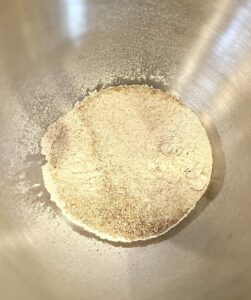
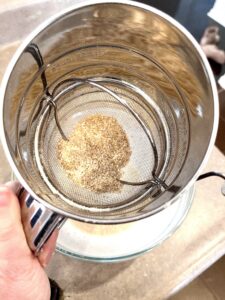
The more significant pieces are wheat bran and can be sifted out. This leaves you with excellent flour ready for baking! Save the wheat bran to make porridge or use in other recipes.
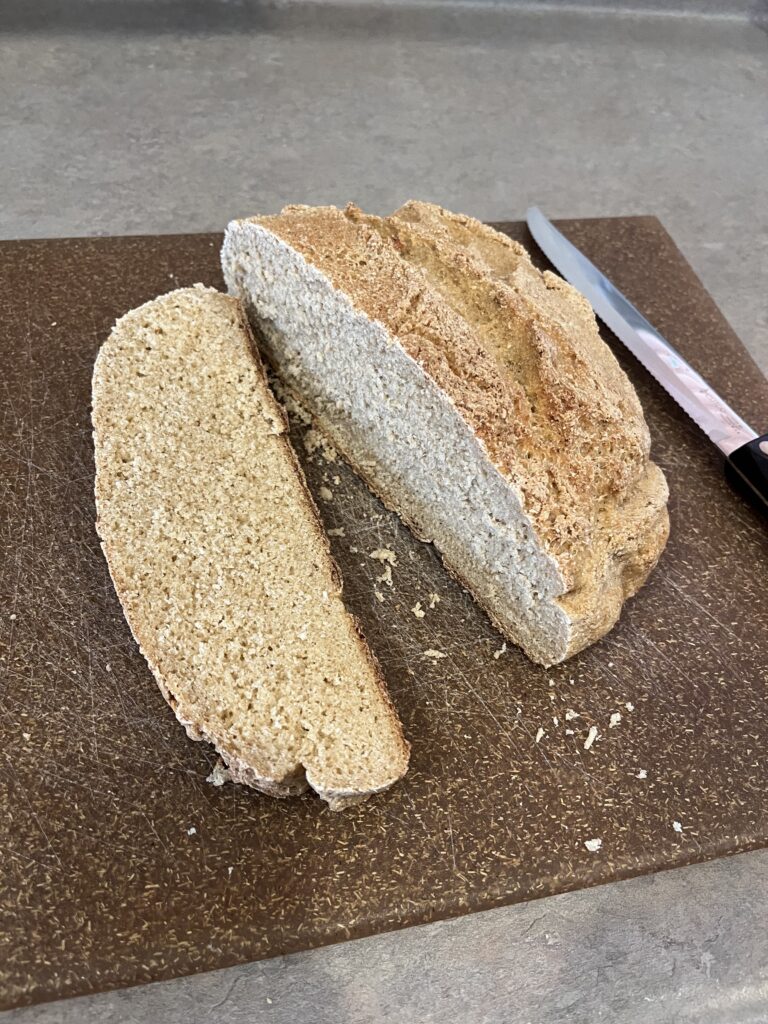
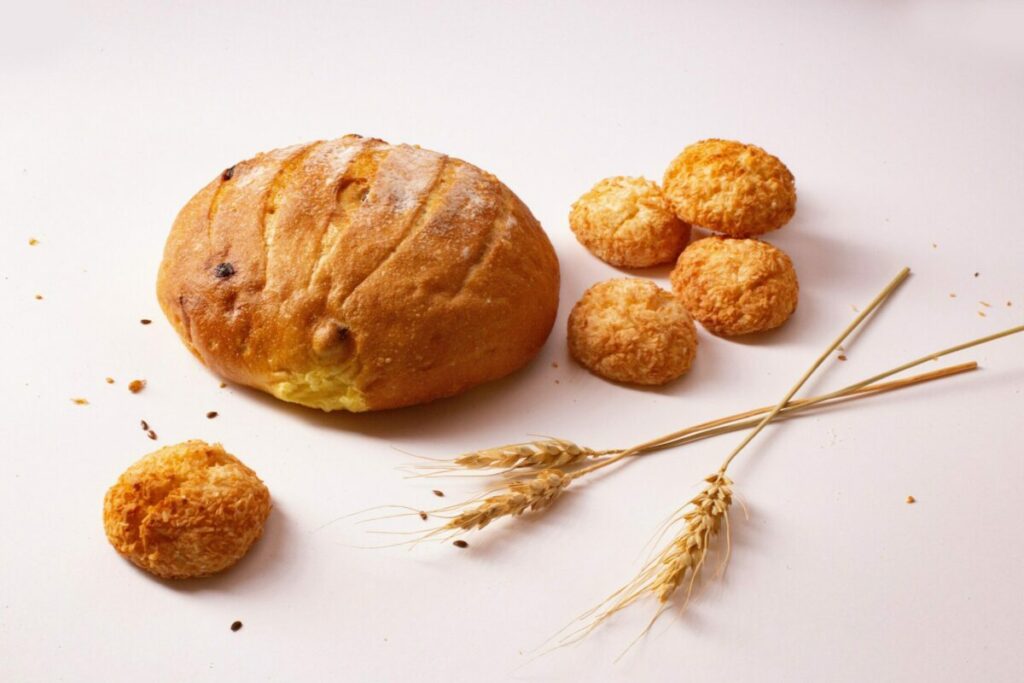
Phew!! It’s a lot, I know. But you’re done! You made sprouted flour. Now, all that’s left to do is bake some delicious bread or store it. What do you think? Is it worth it? For our family, the answer is yes. Share this with your friends, and happy sprouting!
What a process, sometimes we enjoy foods, like bread, without thinking about everything that goes into making them. Thank you for sharing this at home bread recipe! I can definitely see the benefits of making it at home and being patient through the sprouted process.
Interesting recipe, never tried this before, and seem like something yummy, and would love to try it. See that it’s easy to make them as well. Thank you for sharing!